Solidity入门:基于Truffle搭建本地开发环境
Overview
怎样开始Solidity的学习
最近在学习区块链、智能合约相关知识,发现Solidity权威的学习资料很匮乏,很奇怪Solidity这么火竟然没有官方的详细学习资料,比如《Solidity Cookbook》这类书籍。
这篇文章是Solidity入门的入门文档,介绍如何搭建本地环境搭建。我个人也是新手,多年的语言学习体验还是习惯先有个本地的开发环境,Ethereum官方推荐的学习工具列举在下面:https://ethereum.org/zh/developers/learning-tools/ ,其中Remix我看到很多人在推荐,如果喜欢在线编码的话可以直接使用。
另外,Solidity的入门学习材料推荐以下两个:
- CryptoZombie 讲的很泛但是方方面面都介绍到了,很适合建立初步的体感。
- Solidity By Example 我正在看,例子很多,但是貌似也没有介绍的很深入。
- 需要更加Advanced的学习资料。
Solidity本地环境我个人选择Truffle,我也是新手,如果大家有更好的推荐可以在评论区推荐给我,谢谢~
Truffle环境搭建
主要参考Truffle官方Quick Start:https://trufflesuite.com/docs/truffle/quickstart/
安装很简单:
1$ npm install -g truffle
强烈推荐安装Ganache,Ganache可以在本地启动一个带UI的eth链,带10个测试账号,每个账号有100个eth供测试用。
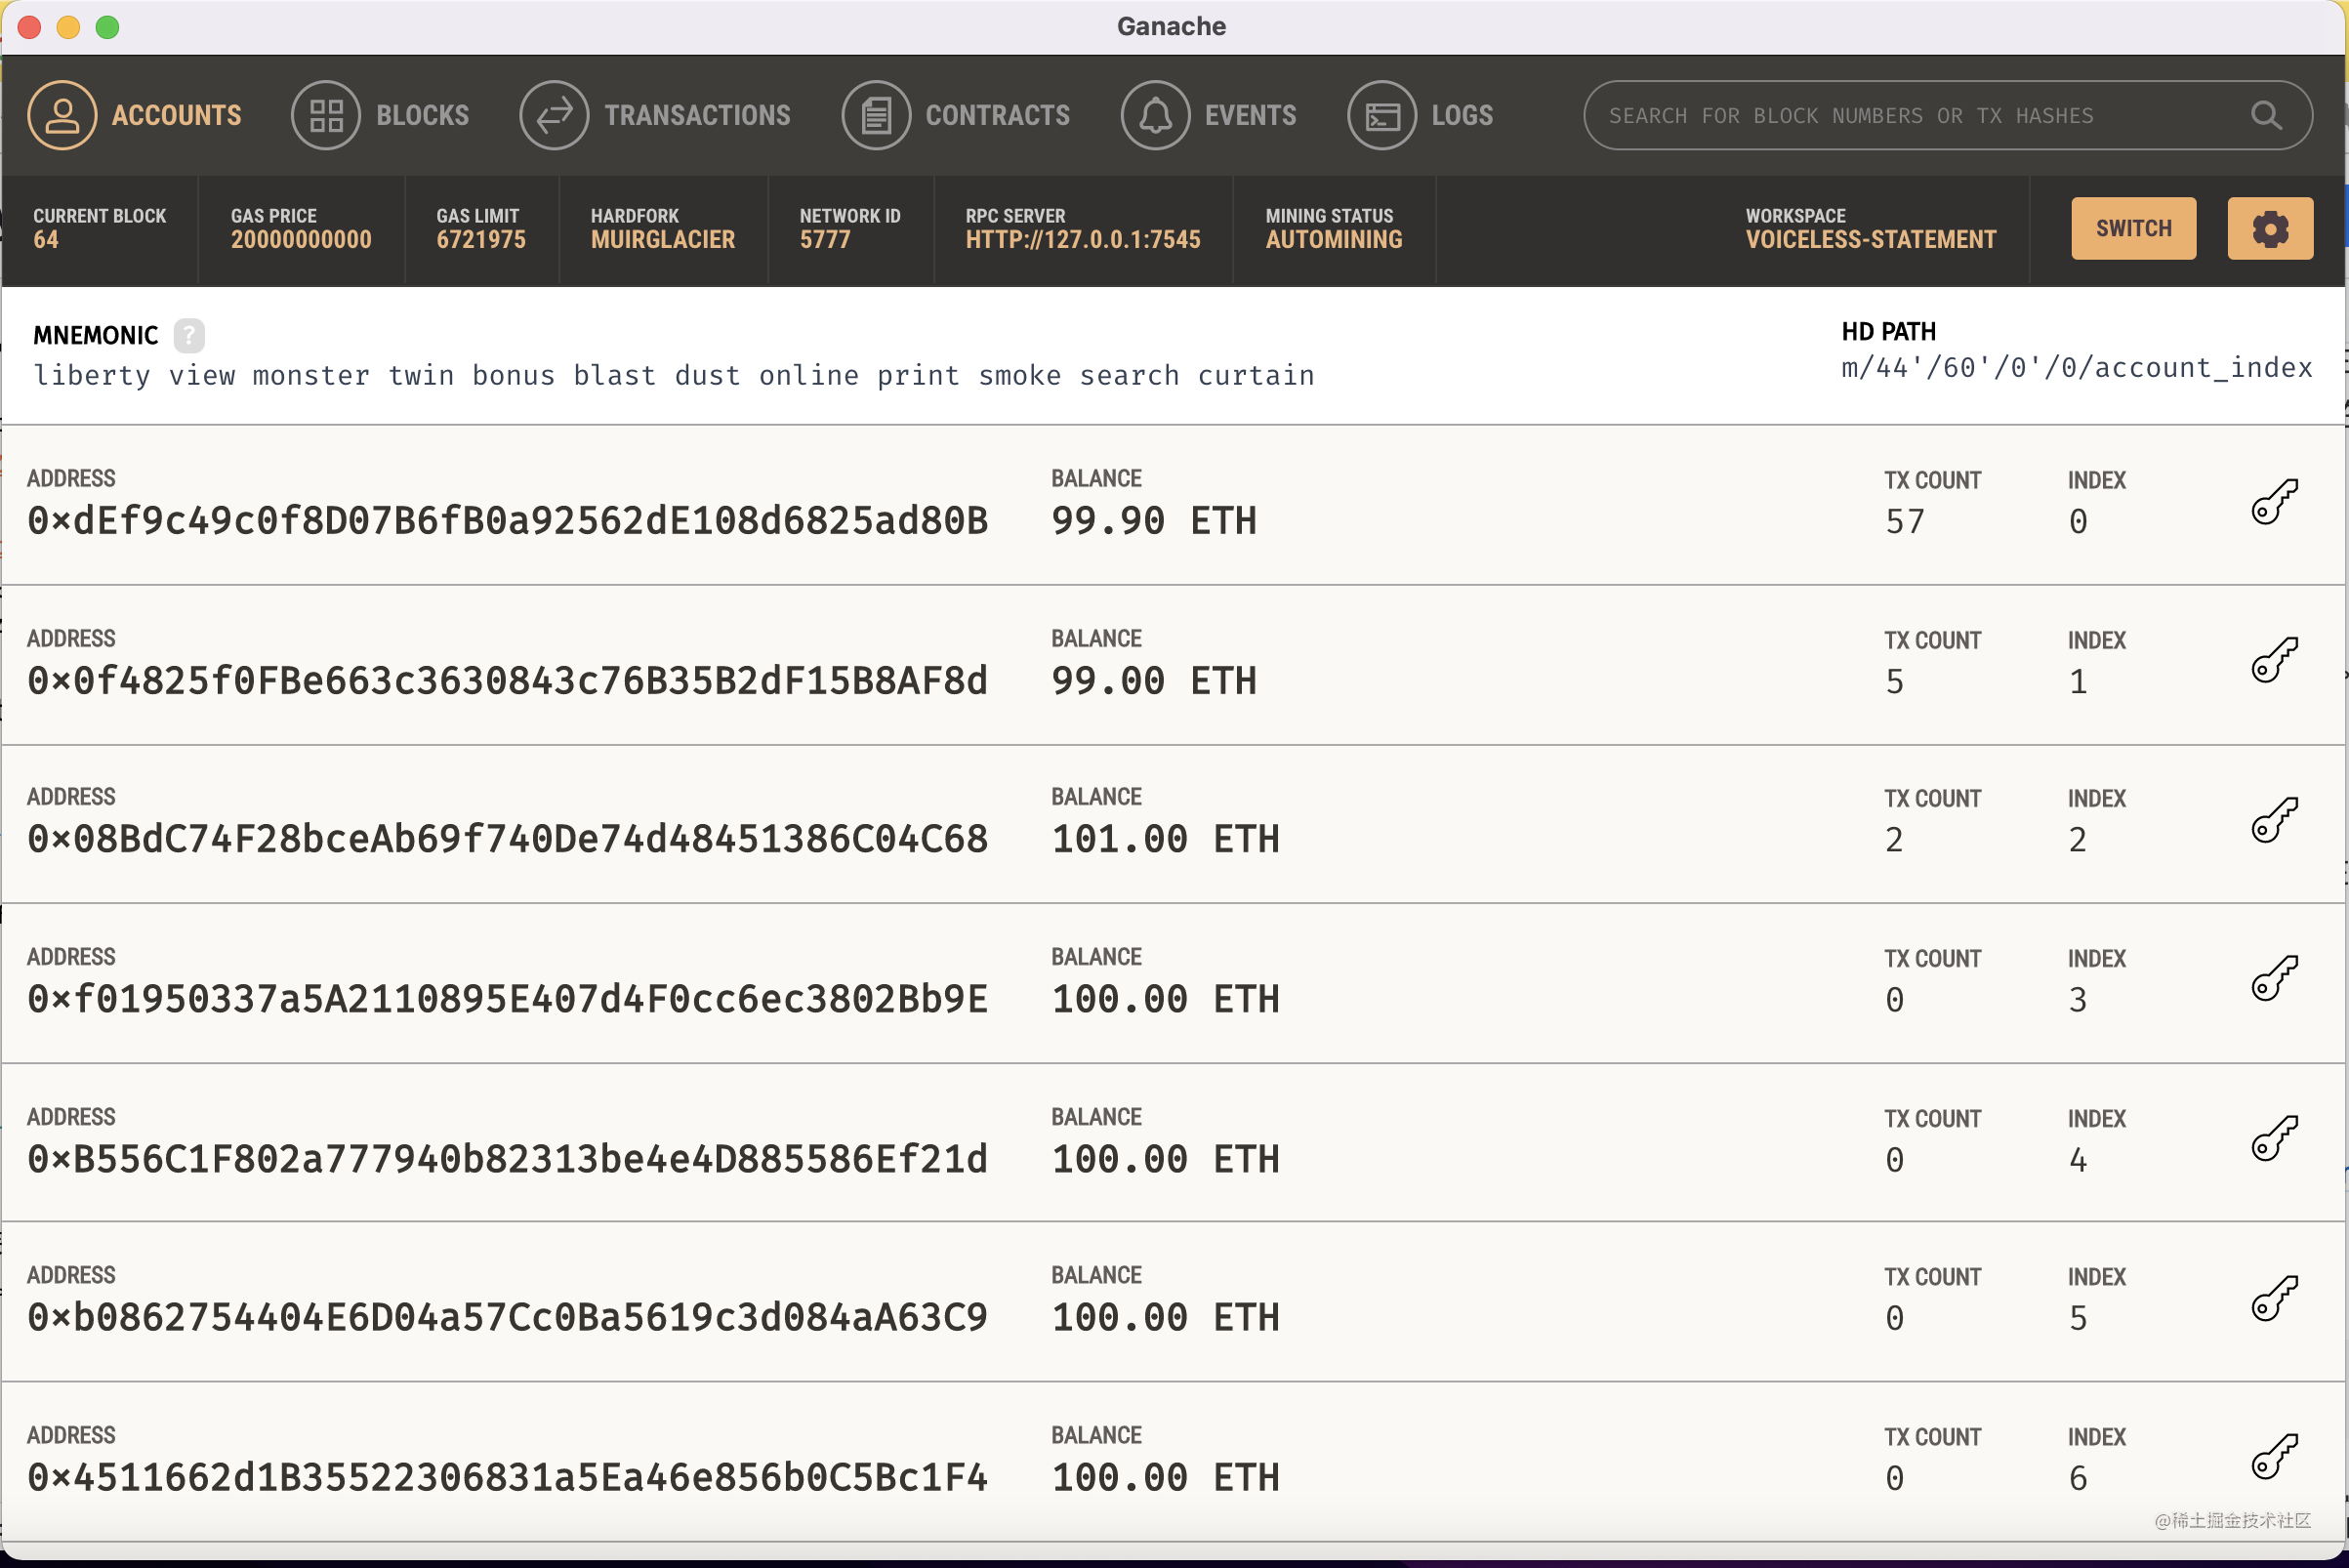
虽然Truffle也会启动本地的eth测试链,但是有个UI界面的Ganache还是很直观的,方便学习。
Ganache建议安装支持Filecoin的最新版本,虽然我们还没用到Filecoin,但是提前准备总是没错的。
参考:https://trufflesuite.com/docs/ganache/quickstart/#1-install-ganache
所有可用的版本列表:https://github.com/trufflesuite/ganache-ui/releases
手动安装最新版本,我用的版本是2.6.0-beta.3.1390,下载地址
Truffle一些操作技巧及常用命令
参考:https://trufflesuite.com/docs/truffle/quickstart/
Truffle Quick Start里面的例子使用的MetaCoin,我们这里从truffle init开始建一个新的truffle工程。
1. 创建工程
1$ mkdir test
2$ cd test
3$ truffle init
查看目录树:
 1$ tree .
 2.
 3├── contracts
 4│   └── Migrations.sol
 5├── migrations
 6│   └── 1_initial_migration.js
 7├── test
 8└── truffle-config.js
 9\
10
113 directories, 3 files
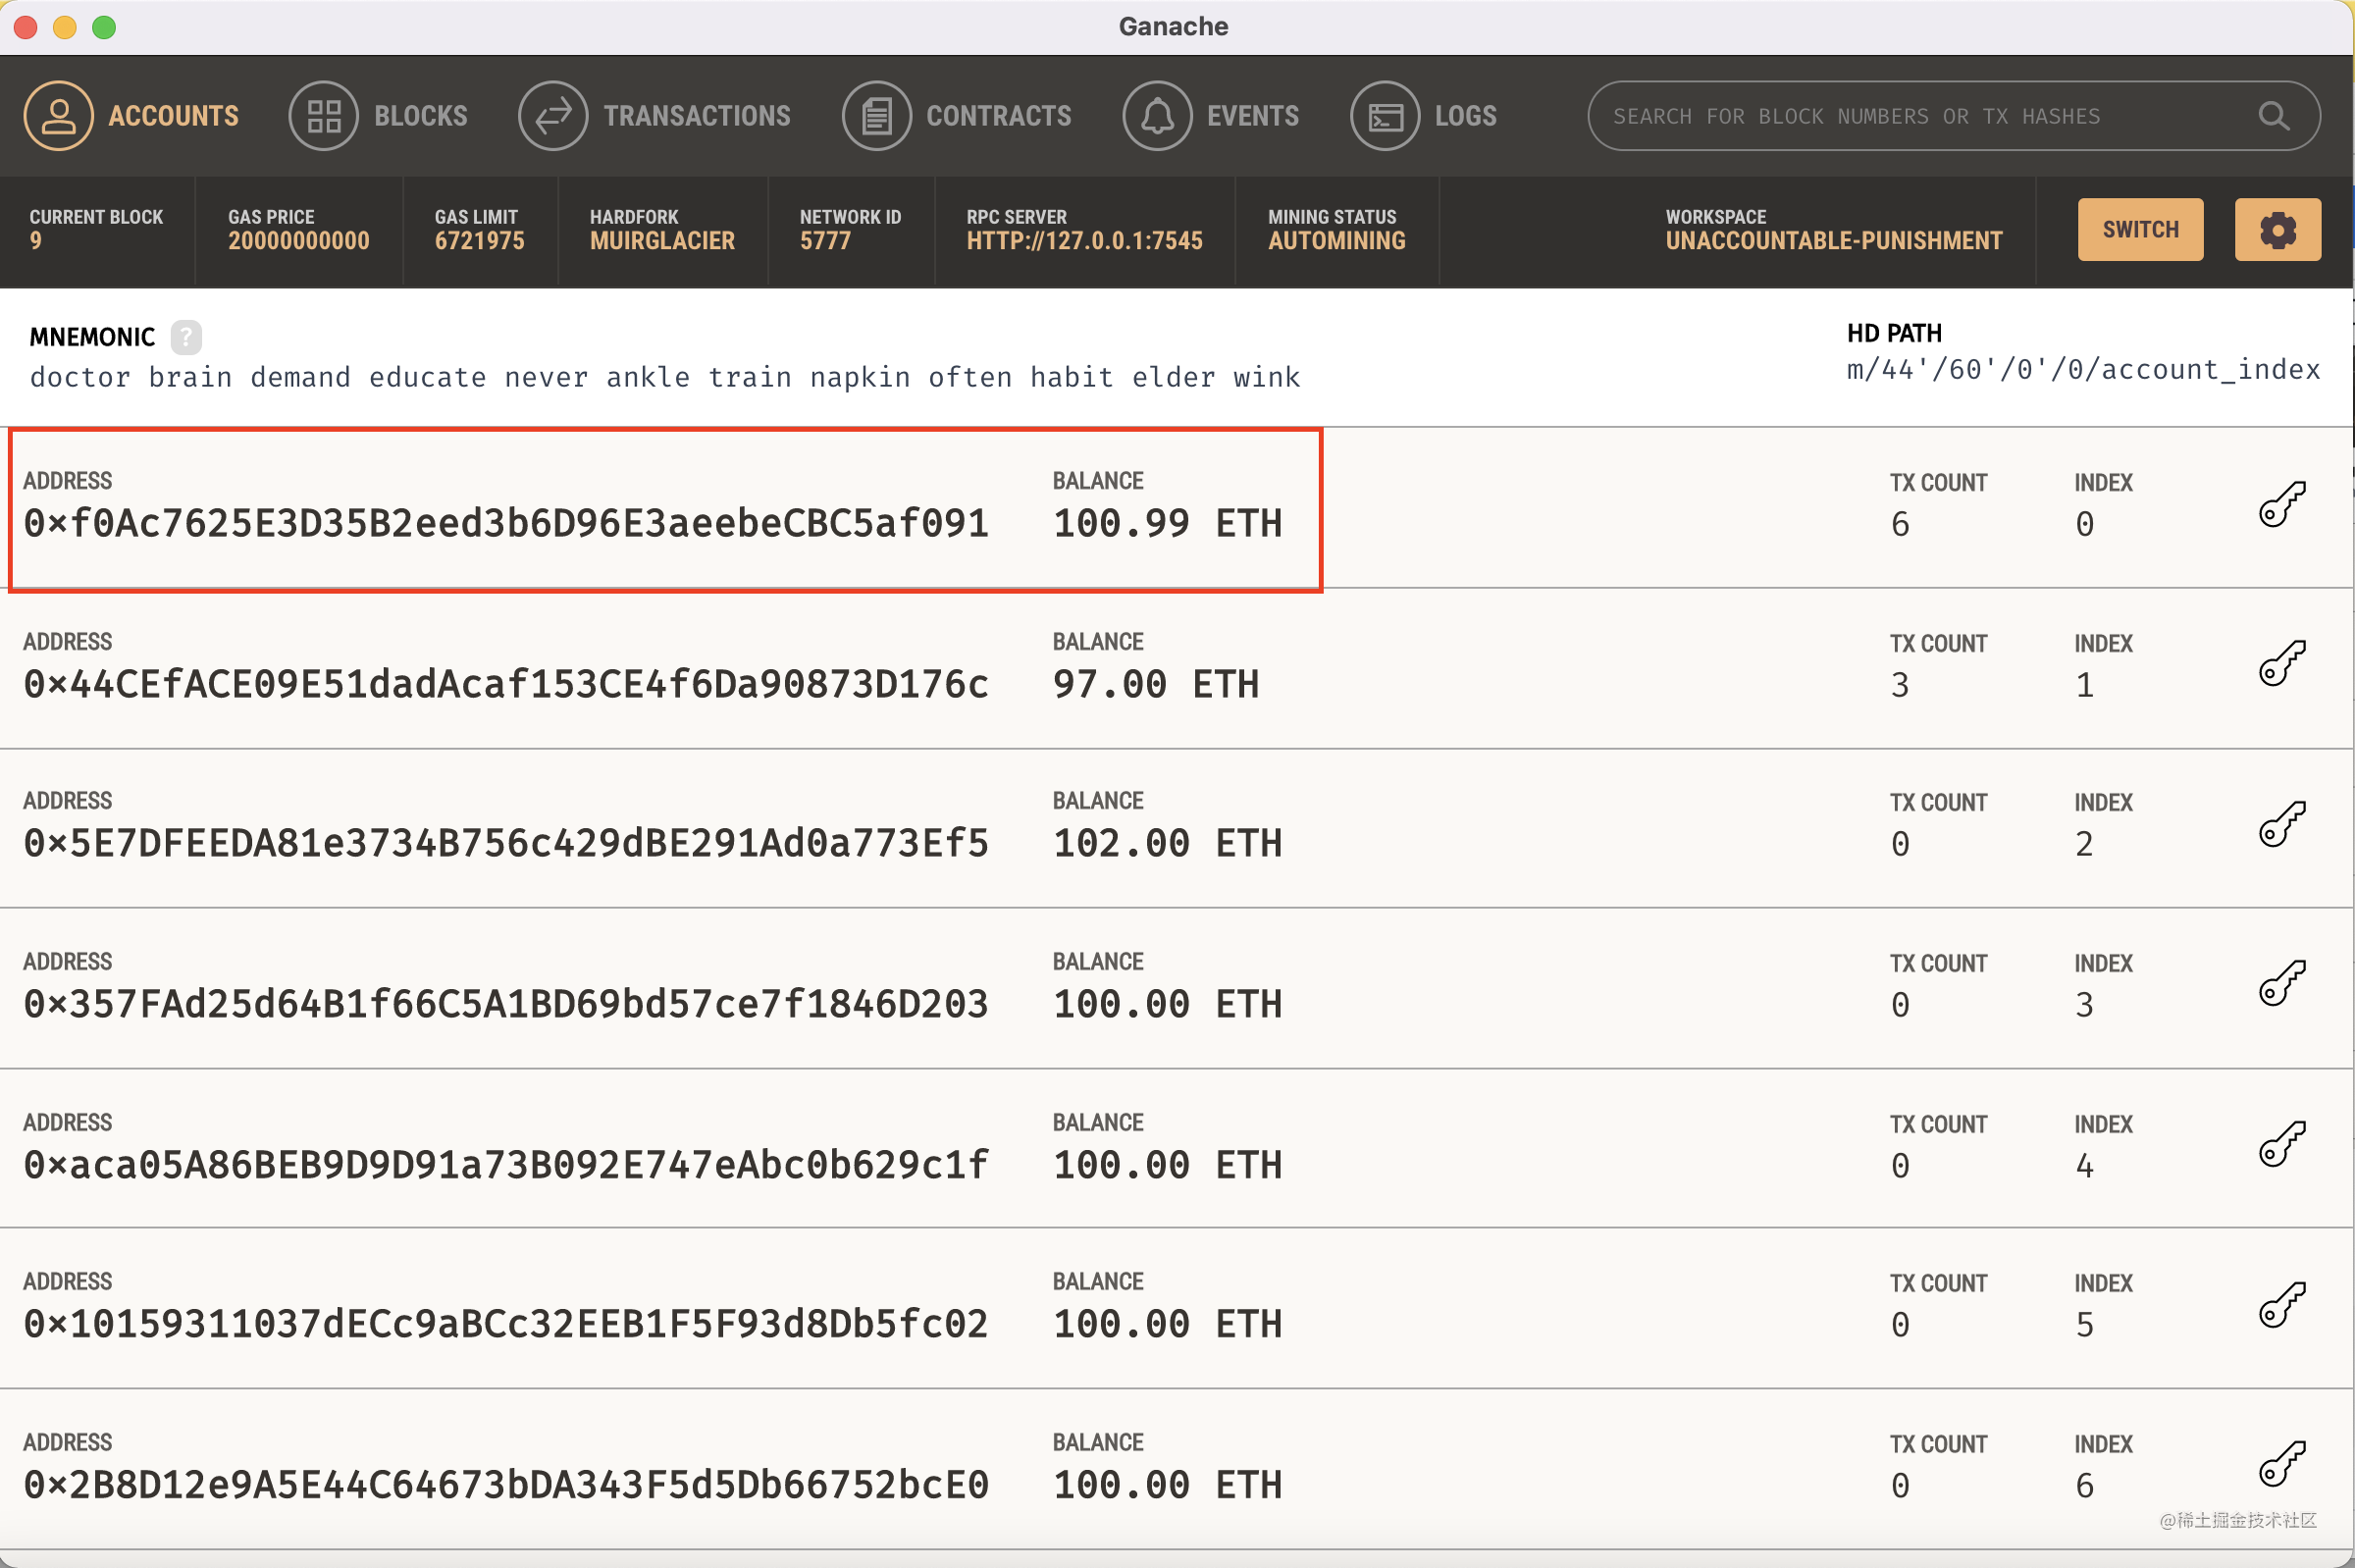
2. 启动Ganache测试链


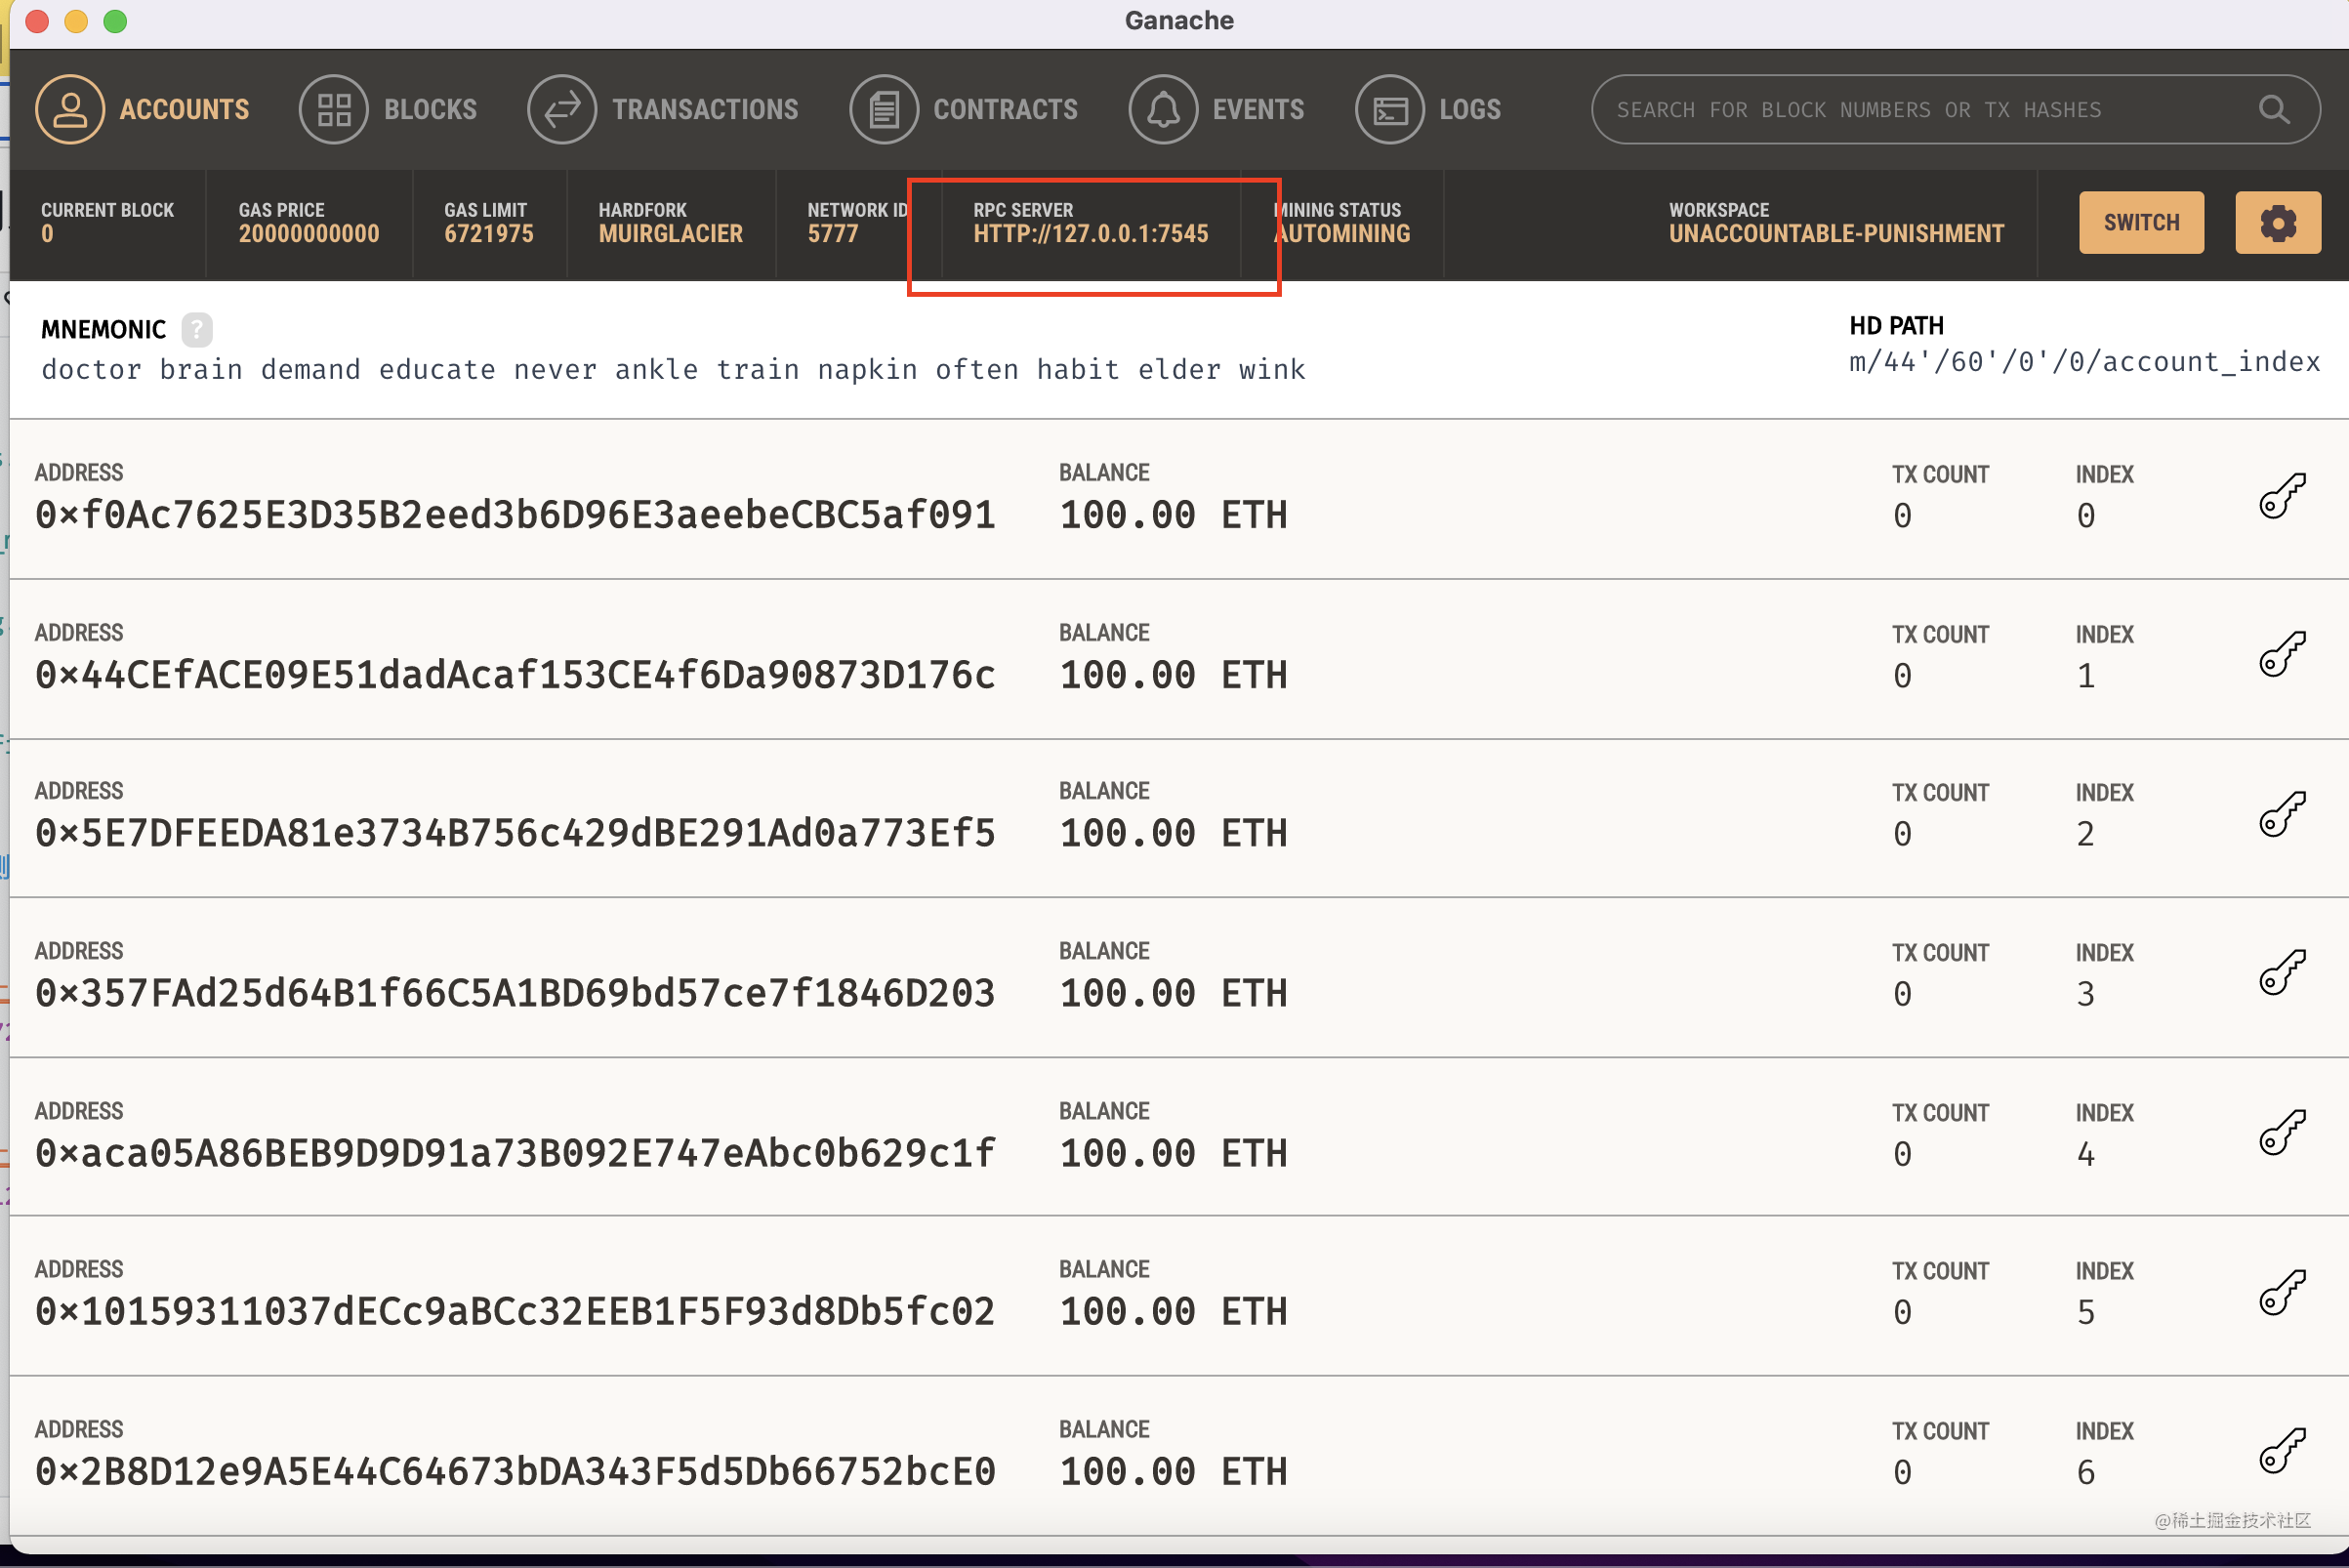
3. 配置Truffle Project连接到Ganache UI
图片里可以看到,Ganache的监听地址为http://127.0.0.1:7545 ,我们把这个地址配置到truffle-config.js里。
 1module.exports = {
 2  ...
 3  networks: {
 4    development: {
 5      host: "127.0.0.1",     // Localhost (default: none)
 6      port: 7545,            // Standard Ethereum port (default: none)
 7      network_id: "*",       // Any network (default: none)
 8    }
 9  },
10  ...
11}
启动truffle console测试下是否成功:
 1$ truffle console
 2truffle(development)> let accounts = await web3.eth.getAccounts()
 3undefined
 4truffle(development)> accounts
 5[
 6  '0xf0Ac7625E3D35B2eed3b6D96E3aeebeCBC5af091',
 7  '0x44CEfACE09E51dadAcaf153CE4f6Da90873D176c',
 8  '0x5E7DFEEDA81e3734B756c429dBE291Ad0a773Ef5',
 9  '0x357FAd25d64B1f66C5A1BD69bd57ce7f1846D203',
10  '0xaca05A86BEB9D9D91a73B092E747eAbc0b629c1f',
11  '0x10159311037dECc9aBCc32EEB1F5F93d8Db5fc02',
12  '0x2B8D12e9A5E44C64673bDA343F5d5Db66752bcE0',
13  '0x9581F92090bf2985e105d6Eb90cC1afFE05e6a34',
14  '0xAB3DF6FEA353D55c64c5aC206D40f9eFa951DACf',
15  '0x6587A514e15e59c7F8fb2Bfc0824707ba77004c2'
16]
17truffle(development)>.exit
注意用await关键字保障等待异步操作能正确返回。因为账户的生成是随机的,所以上面你的10个账户和我的不会相同。
4. 开发和部署新合约的一个示例
我们以https://solidity-by-example.org/payable 这里的一个example做示范,这个example里面包含了合约付款,是个不错的演示程序。
- 编写新合约
contracts/Payable.sol
 1// SPDX-License-Identifier: MIT
 2pragma solidity ^0.8.13;
 3
 4contract Payable {
 5    // Payable address can receive Ether
 6    address payable public owner;
 7
 8    // Payable constructor can receive Ether
 9    constructor() payable {
10        owner = payable(msg.sender);
11    }
12
13    // Function to deposit Ether into this contract.
14    // Call this function along with some Ether.
15    // The balance of this contract will be automatically updated.
16    function deposit() public payable {}
17
18    // Call this function along with some Ether.
19    // The function will throw an error since this function is not payable.
20    function notPayable() public {}
21
22    // Function to withdraw all Ether from this contract.
23    function withdraw() public {
24        // get the amount of Ether stored in this contract
25        uint amount = address(this).balance;
26
27        // send all Ether to owner
28        // Owner can receive Ether since the address of owner is payable
29        (bool success, ) = owner.call{value: amount}("");
30        require(success, "Failed to send Ether");
31    }
32
33    // Function to transfer Ether from this contract to address from input
34    function transfer(address payable _to, uint _amount) public {
35        // Note that "to" is declared as payable
36        (bool success, ) = _to.call{value: _amount}("");
37        require(success, "Failed to send Ether");
38    }
39}
大致讲解下:
- deposit:存eth进合约。
- notPayable: 调用这个函数时不可以付钱。
- withdraw:把这个合约内的所有钱都打给合约的owner。
- transfer:从这个合约里转移一定数额的钱给指定账户。
- 编写migration文件。
migration文件是指导truffle如何部署合约的文件,具体原理还没深入看过,目测是truffle会先部署一个deploy用的合约,后面的合约会借助这个deployer来做。
migrations/2_payable_migration.js
1const Payable = artifacts.require("Payable");
2
3module.exports = function (deployer) {
4  deployer.deploy(Payable);
5};
- 部署
可以在命令行执行truffle migrate,或是在truffle console里执行migrate即可。
 1$ truffle migrate
 2
 3Compiling your contracts...
 4===========================
 5> Compiling ./contracts/Migrations.sol
 6> Compiling ./contracts/Payable.sol
 7> Artifacts written to /Users/zhangwei/program/crypto/test/build/contracts
 8> Compiled successfully using:
 9   - solc: 0.8.13+commit.abaa5c0e.Emscripten.clang
10
11
12Starting migrations...
13======================
14> Network name:    'development'
15> Network id:      5777
16> Block gas limit: 6721975 (0x6691b7)
17
18
191_initial_migration.js
20======================
21
22   Deploying 'Migrations'
23   ----------------------
24   > transaction hash:    0xc5612b8e2f3c1f59627085ecfe1bbfd02f8426245e231ebcf6320b7676d46c23
25   > Blocks: 0            Seconds: 0
26   > contract address:    0xedF2d3b63b29bdE8ab015f7c306877BEE162eb23
27   > block number:        1
28   > block timestamp:     1654262832
29   > account:             0xf0Ac7625E3D35B2eed3b6D96E3aeebeCBC5af091
30   > balance:             99.99502292
31   > gas used:            248854 (0x3cc16)
32   > gas price:           20 gwei
33   > value sent:          0 ETH
34   > total cost:          0.00497708 ETH
35
36   > Saving migration to chain.
37   > Saving artifacts
38   -------------------------------------
39   > Total cost:          0.00497708 ETH
40
41
422_payable_migration.js
43======================
44
45   Deploying 'Payable'
46   -------------------
47   > transaction hash:    0x4e6ec2f7b722deea05d0f9108d66b8b8a7e15877bb7b6a4bc2b77e34271b1a9e
48   > Blocks: 0            Seconds: 0
49   > contract address:    0x767836195C5A17217B3eeb2a9D2Fbe239B7Ea28D
50   > block number:        3
51   > block timestamp:     1654262832
52   > account:             0xf0Ac7625E3D35B2eed3b6D96E3aeebeCBC5af091
53   > balance:             99.98769456
54   > gas used:            323905 (0x4f141)
55   > gas price:           20 gwei
56   > value sent:          0 ETH
57   > total cost:          0.0064781 ETH
58
59   > Saving migration to chain.
60   > Saving artifacts
61   -------------------------------------
62   > Total cost:           0.0064781 ETH
63
64Summary
65=======
66> Total deployments:   2
67> Final cost:          0.01145518 ETH
5. 与你的新合约交互
展示一下如何与你的合约交互,及一些常用的操作方法。
1$ truffle console
2truffle(development)> let accounts = await web3.eth.getAccounts()
3undefined
4truffle(development)> let instance = await Payable.deployed()
5undefined
6
7// accounts[1]存入3 ether,1 ether==10^18 wei
8truffle(development)> instance.deposit({from:accounts[1], value:"3000000000000000000"})
9......
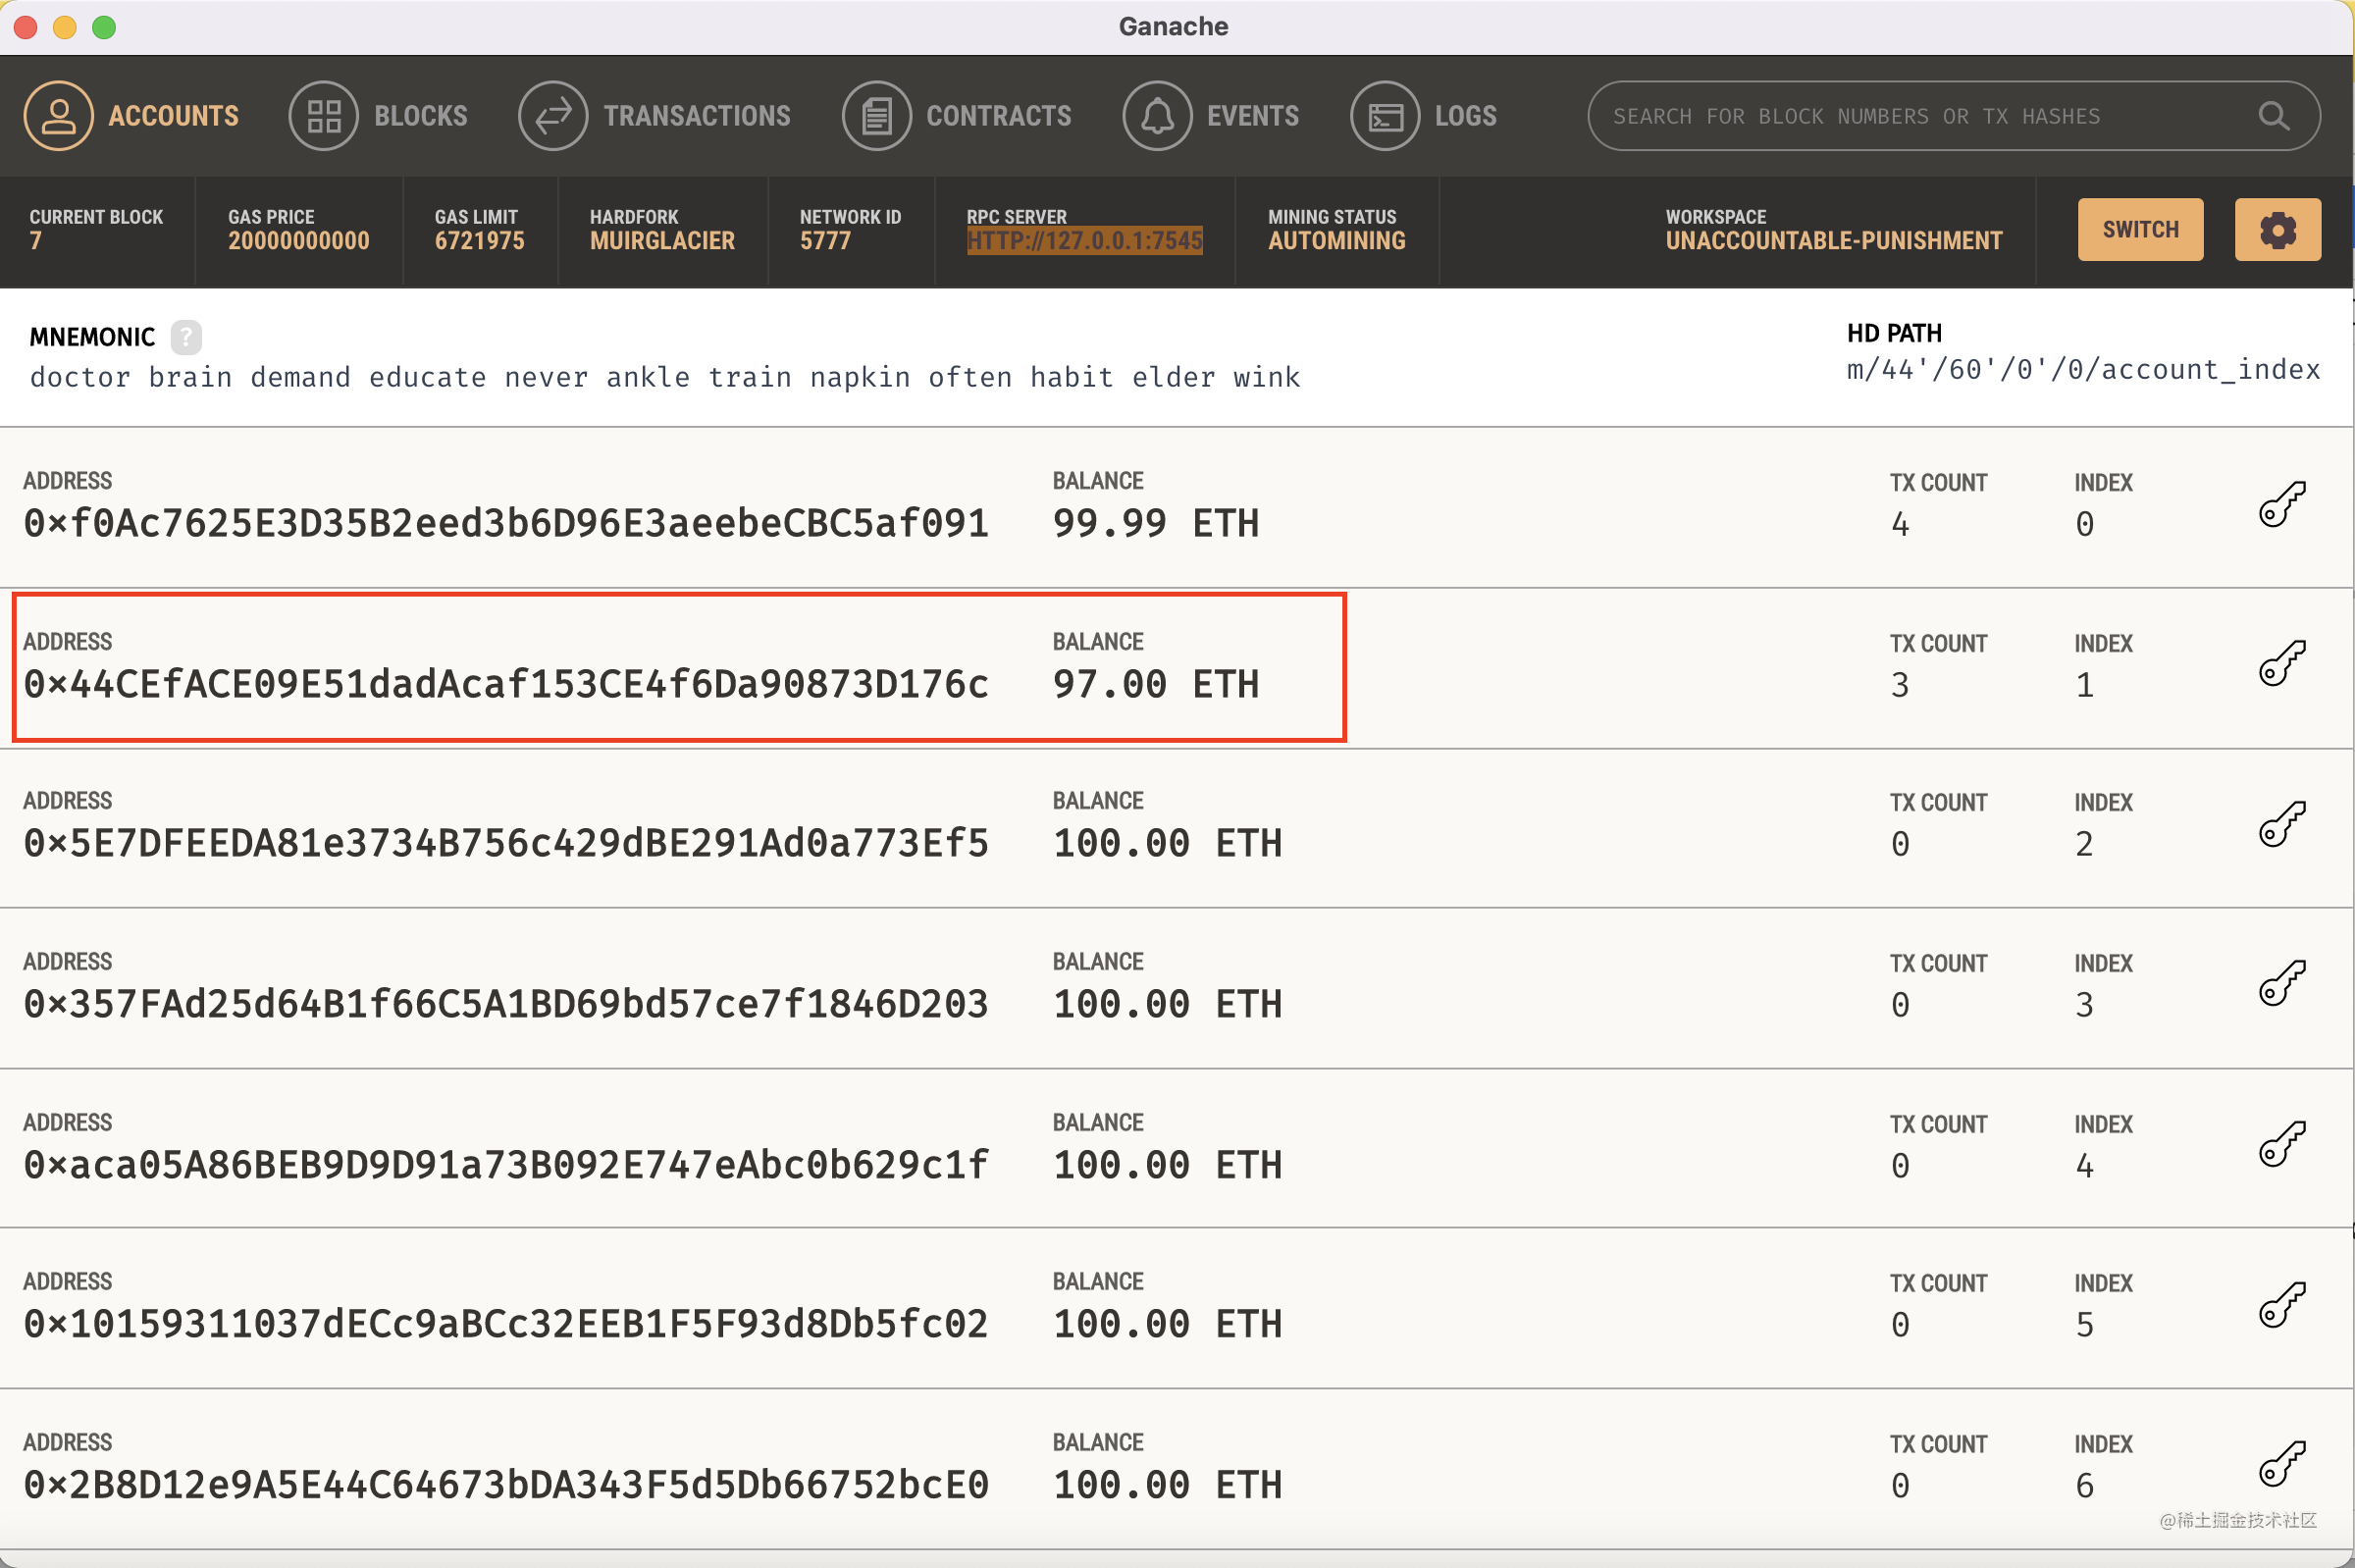
注意,第一个合约只有99.99eth,0.01eth是在部署合约时作为Gas费燃烧掉了。 继续:
1// 从合约里转移2ether给accounts[2]
2truffle(development)> instance.transfer(accounts[2], "2000000000000000000")
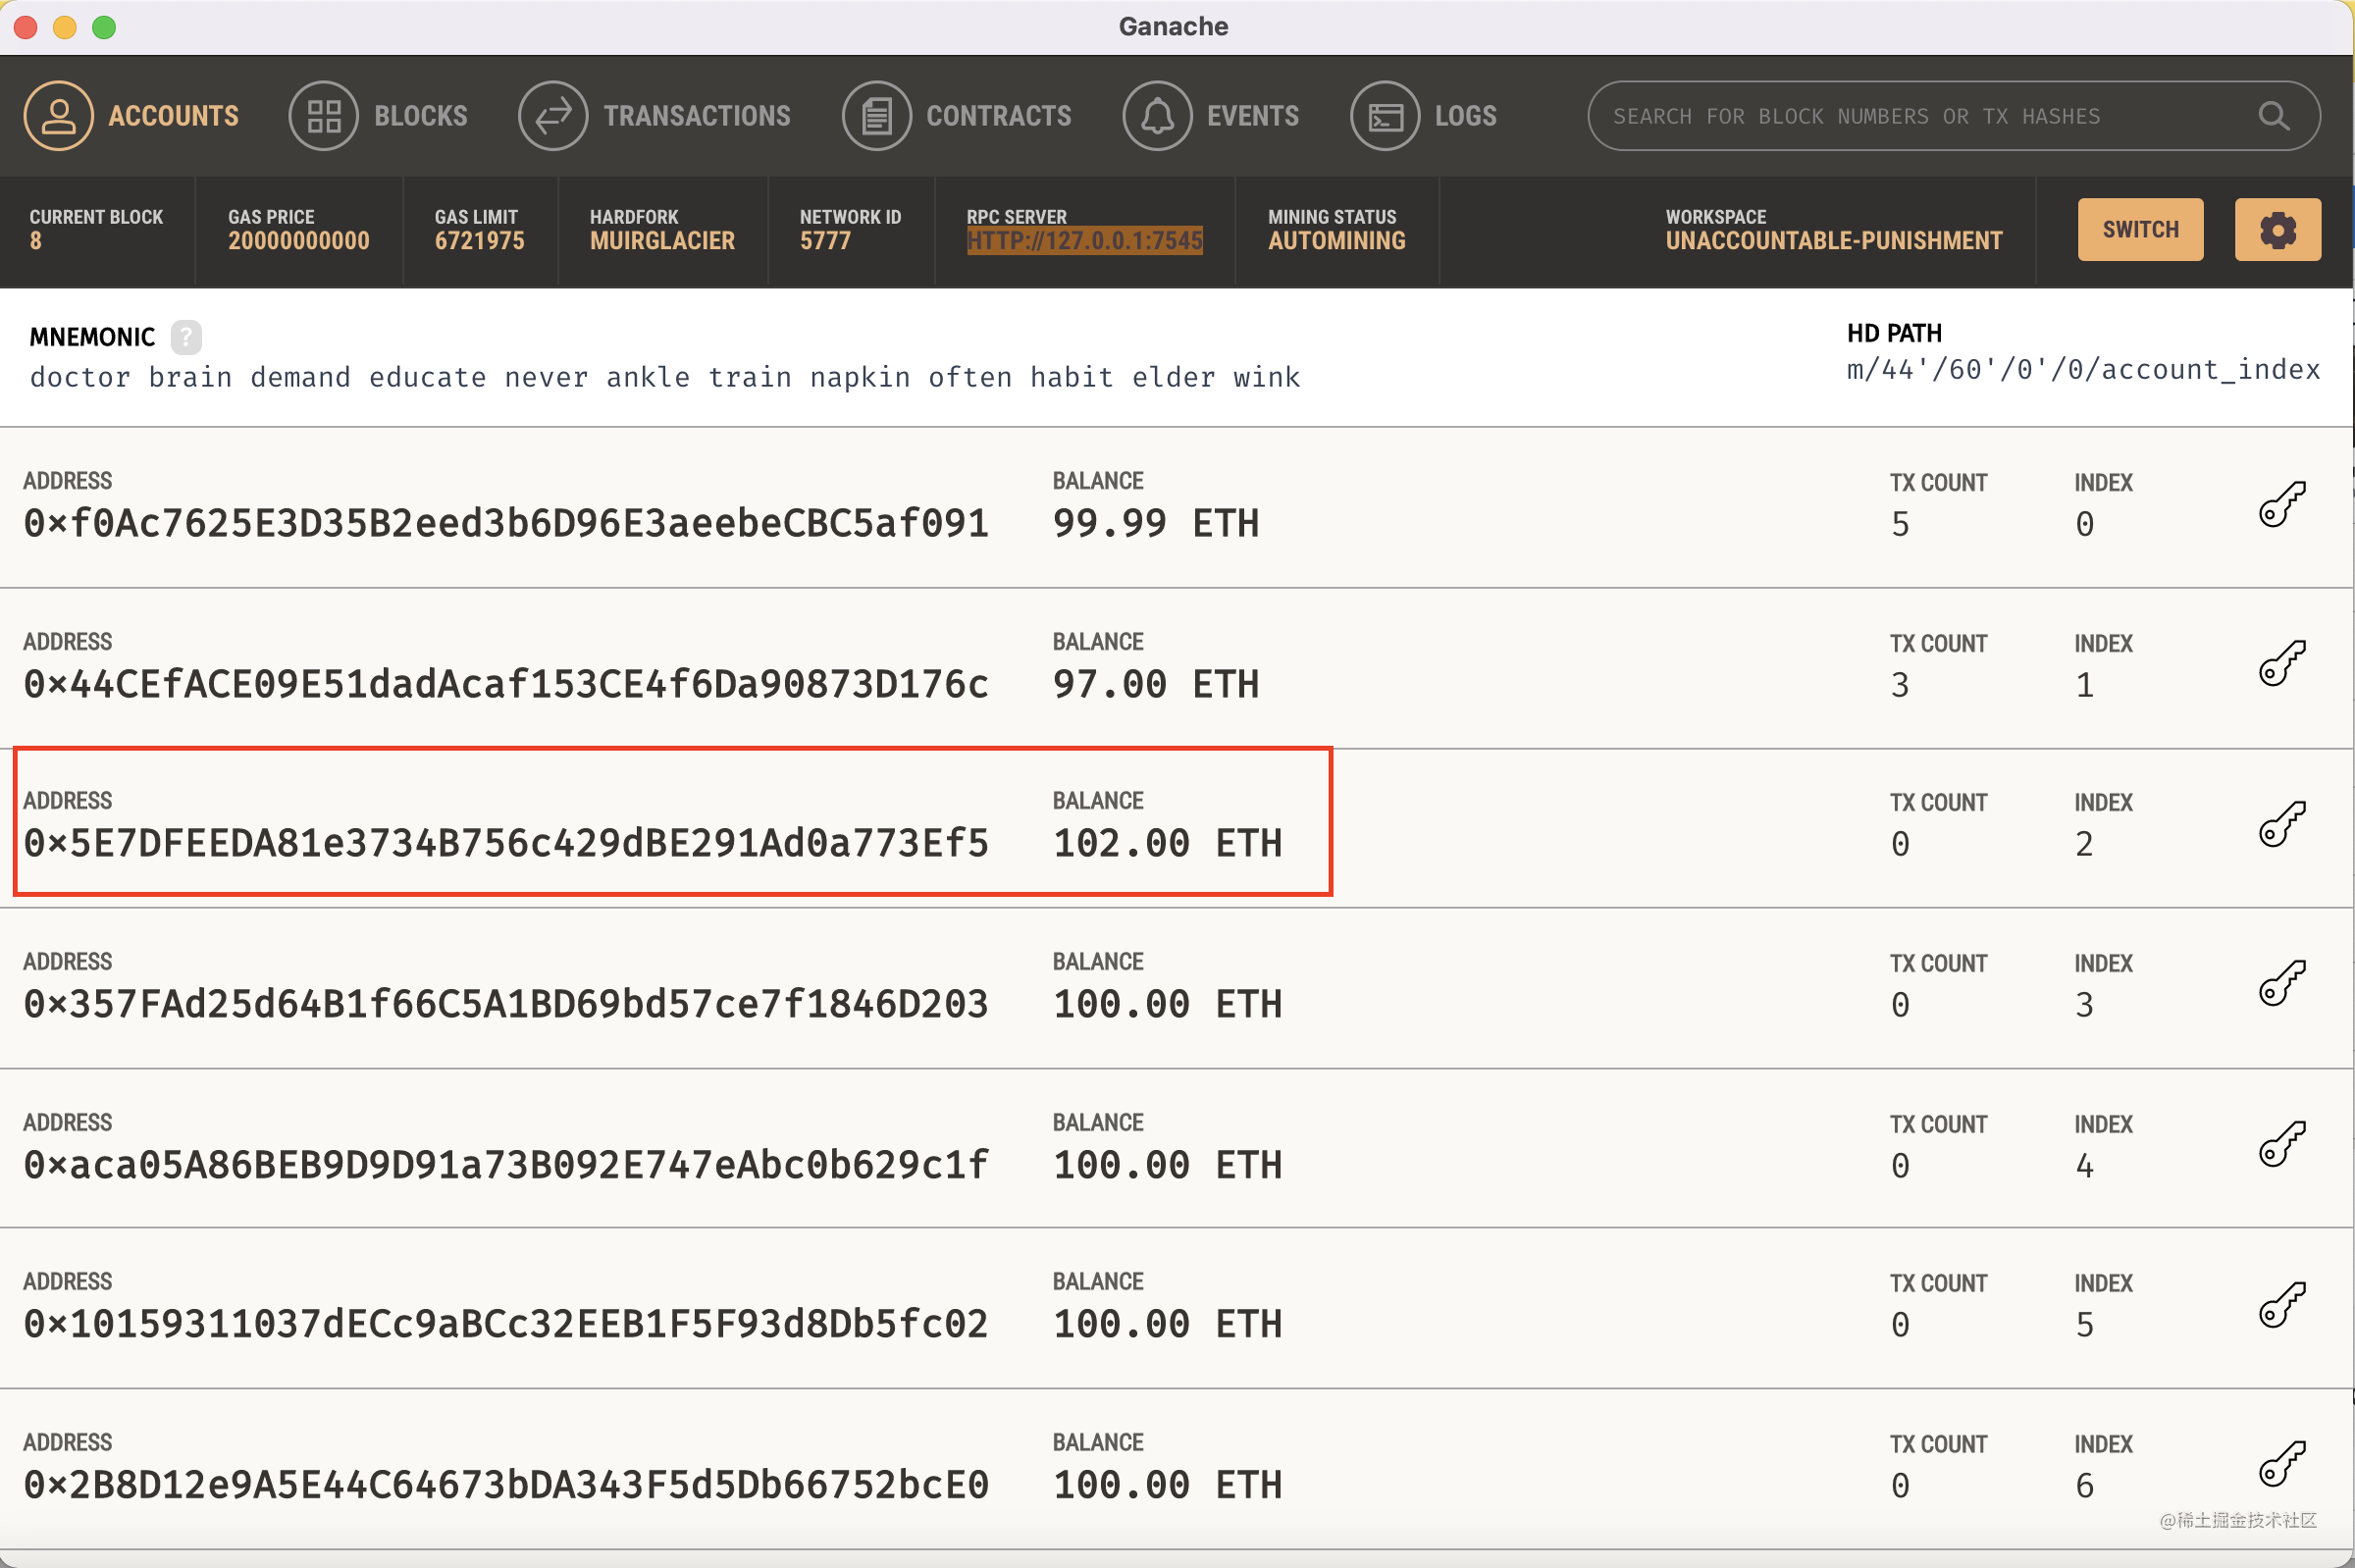
继续:
1// 剩下的所有钱(1eth)全部提取出来给owner(account[0])
2truffle(development)> instance.withdraw()
6. Truffle操作小技巧
- wei转换为eth
1web3.utils.fromWei("1000000000000000000", 'ether')
结果为'1'
- eth转换为wei
1web3.utils.toWei("1", 'ether')
结果:'1000000000000000000'
web3.utils有很多有用的JS函数,在truffle console中敲入web3.utils. 按两次tab键可以看到:
 1web3.utils.__proto__                     web3.utils.constructor                   web3.utils.hasOwnProperty
 2web3.utils.isPrototypeOf                 web3.utils.propertyIsEnumerable          web3.utils.toLocaleString
 3web3.utils.toString                      web3.utils.valueOf
 4
 5web3.utils.BN                            web3.utils._fireError                    web3.utils._flattenTypes
 6web3.utils._jsonInterfaceMethodToString  web3.utils.asciiToHex                    web3.utils.bytesToHex
 7web3.utils.checkAddressChecksum          web3.utils.compareBlockNumbers           web3.utils.encodePacked
 8web3.utils.fromAscii                     web3.utils.fromDecimal                   web3.utils.fromUtf8
 9web3.utils.fromWei                       web3.utils.hexToAscii                    web3.utils.hexToBytes
10web3.utils.hexToNumber                   web3.utils.hexToNumberString             web3.utils.hexToString
11web3.utils.hexToUtf8                     web3.utils.isAddress                     web3.utils.isBN
12web3.utils.isBigNumber                   web3.utils.isBloom                       web3.utils.isContractAddressInBloom
13web3.utils.isHex                         web3.utils.isHexStrict                   web3.utils.isInBloom
14web3.utils.isTopic                       web3.utils.isTopicInBloom                web3.utils.isUserEthereumAddressInBloom
15web3.utils.keccak256                     web3.utils.leftPad                       web3.utils.numberToHex
16web3.utils.padLeft                       web3.utils.padRight                      web3.utils.randomHex
17web3.utils.rightPad                      web3.utils.sha3                          web3.utils.sha3Raw
18web3.utils.soliditySha3                  web3.utils.soliditySha3Raw               web3.utils.stringToHex
19web3.utils.stripHexPrefix                web3.utils.toAscii                       web3.utils.toBN
20web3.utils.toChecksumAddress             web3.utils.toDecimal                     web3.utils.toHex
21web3.utils.toNumber                      web3.utils.toTwosComplement              web3.utils.toUtf8
22web3.utils.toWei                         web3.utils.unitMap                       web3.utils.utf8ToHex
- 函数调用
可以用promise方式:
1instance.getBalance().then(b => { return web3.utils.fromWei(b, 'ether') })
也可以赋值并打印。
1let balance = receive.getBalance()
2web3.utils.fromWei(balance, 'ether')
7. 完结
基本就这样了,后续有别的操作技巧再来补充,bye~